

In <em>The Legend of Zelda: Breath of the Wild</em>, players will discover a vast array of shrines, each offering unique challenges and varying levels of difficulty. These shrines encompass a wide range of activities: while many are comprised of straightforward, self-contained puzzles utilizing your Runes, others may require you to traverse vast distances across the expansive map to solve intricate environmental riddles. Additionally, there are shrines that challenge you with formidable enemies, testing your combat skills as you face them head-on.
The diversity found in BOTW shrines is a significant part of their charm, offering countless opportunities for exploration and discovery. However, this variety also means that some shrines present significantly greater challenges than others. Whether it’s due to cryptic instructions, intense battles, or perplexing concepts, there are certain shrine puzzles in Zelda: BOTW that stand out as particularly difficult.
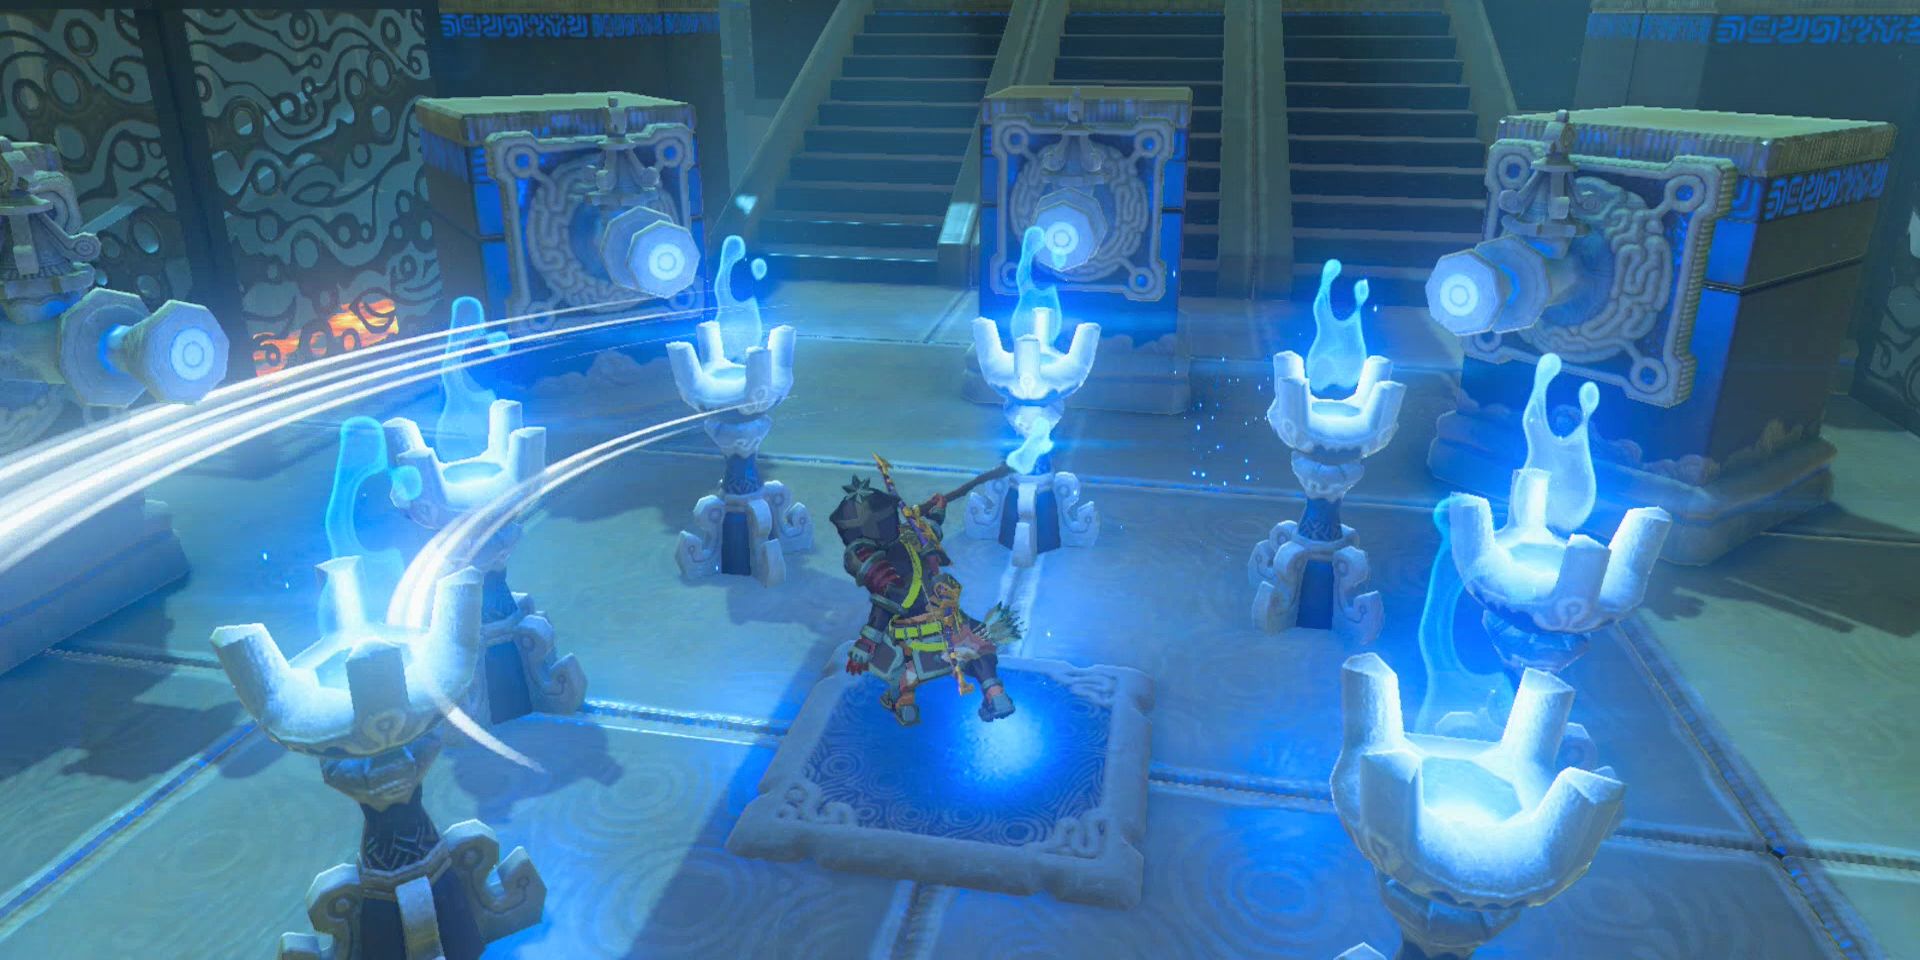
10
Miro Shaz Shrine Challenges You to a Golf-Style Test
Tempered Challenge
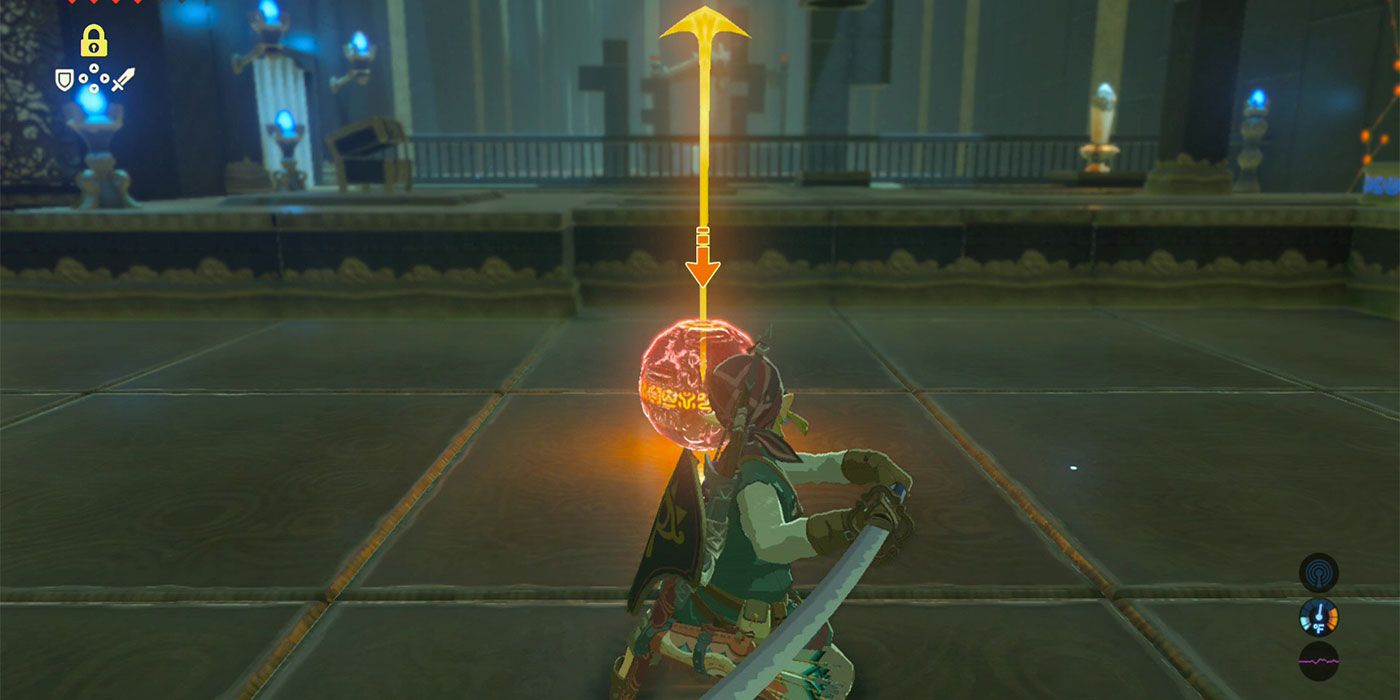
One of the most ingenious features of BOTW shrines is their clever utilization of Link’s basic Rune abilities to create engaging challenges. The Miro Shaz Shrine, situated near Pico Pond in Hyrule, exemplifies this innovative design by requiring you to engage in a three-hole golf-like game. Here, you will leverage the Stasis ability to freeze objects and then strike them into the correct positions to advance through the trials. However, the unpredictable nature of Stasis makes this challenge particularly finicky and complex.
As you navigate this shrine, you will find yourself doing a fair amount of guessing and checking, often overshooting or undershooting your intended target before making necessary adjustments. The frustration is compounded by the lengthy wait times for the objects to respawn, which can make your attempts feel tedious and drawn out. Moreover, if your weapon breaks in the middle of your attempts, you’ll discover that different weapons impart different velocities to objects placed in Stasis, adding another layer of complexity to this already challenging shrine.
9
“Blood Moon Challenge” Requires Patience and Strategy
Mijah Rokee Shrine
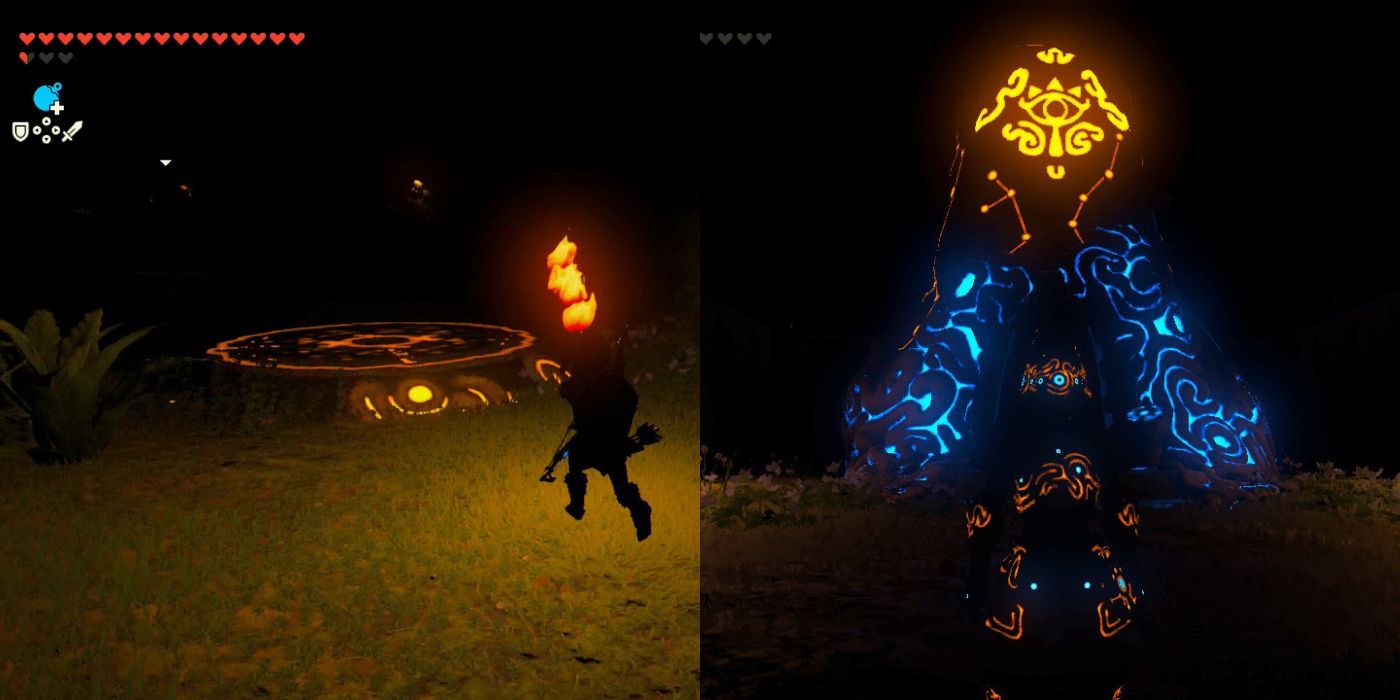
The ominous phrase “The Blood Moon rises again” strikes fear into the hearts of every BOTW player, not only because it heralds the rapid respawning of monsters but also due to the lengthy and dramatic cutscene that accompanies this event. Adding to the challenge, the Mijah Rokee Shrine forces you to navigate the Blood Moon mechanic in a unique way, as it forms part of the challenging “Under a Red Moon” shrine quest located in the Ridgelands.
Initiated by Kass, this shrine presents a straightforward concept that quickly becomes exasperating: you are required to return to the shrine during a Blood Moon and remain outside without any clothing, weapons, or armor. The challenge lies in remembering to return to the shrine organically when a Blood Moon occurs, or alternatively, the need to gather and waste resources to trigger one artificially.
8
Rohta Chigah Shrine Presents Difficult Movement Challenges
Stop To Start
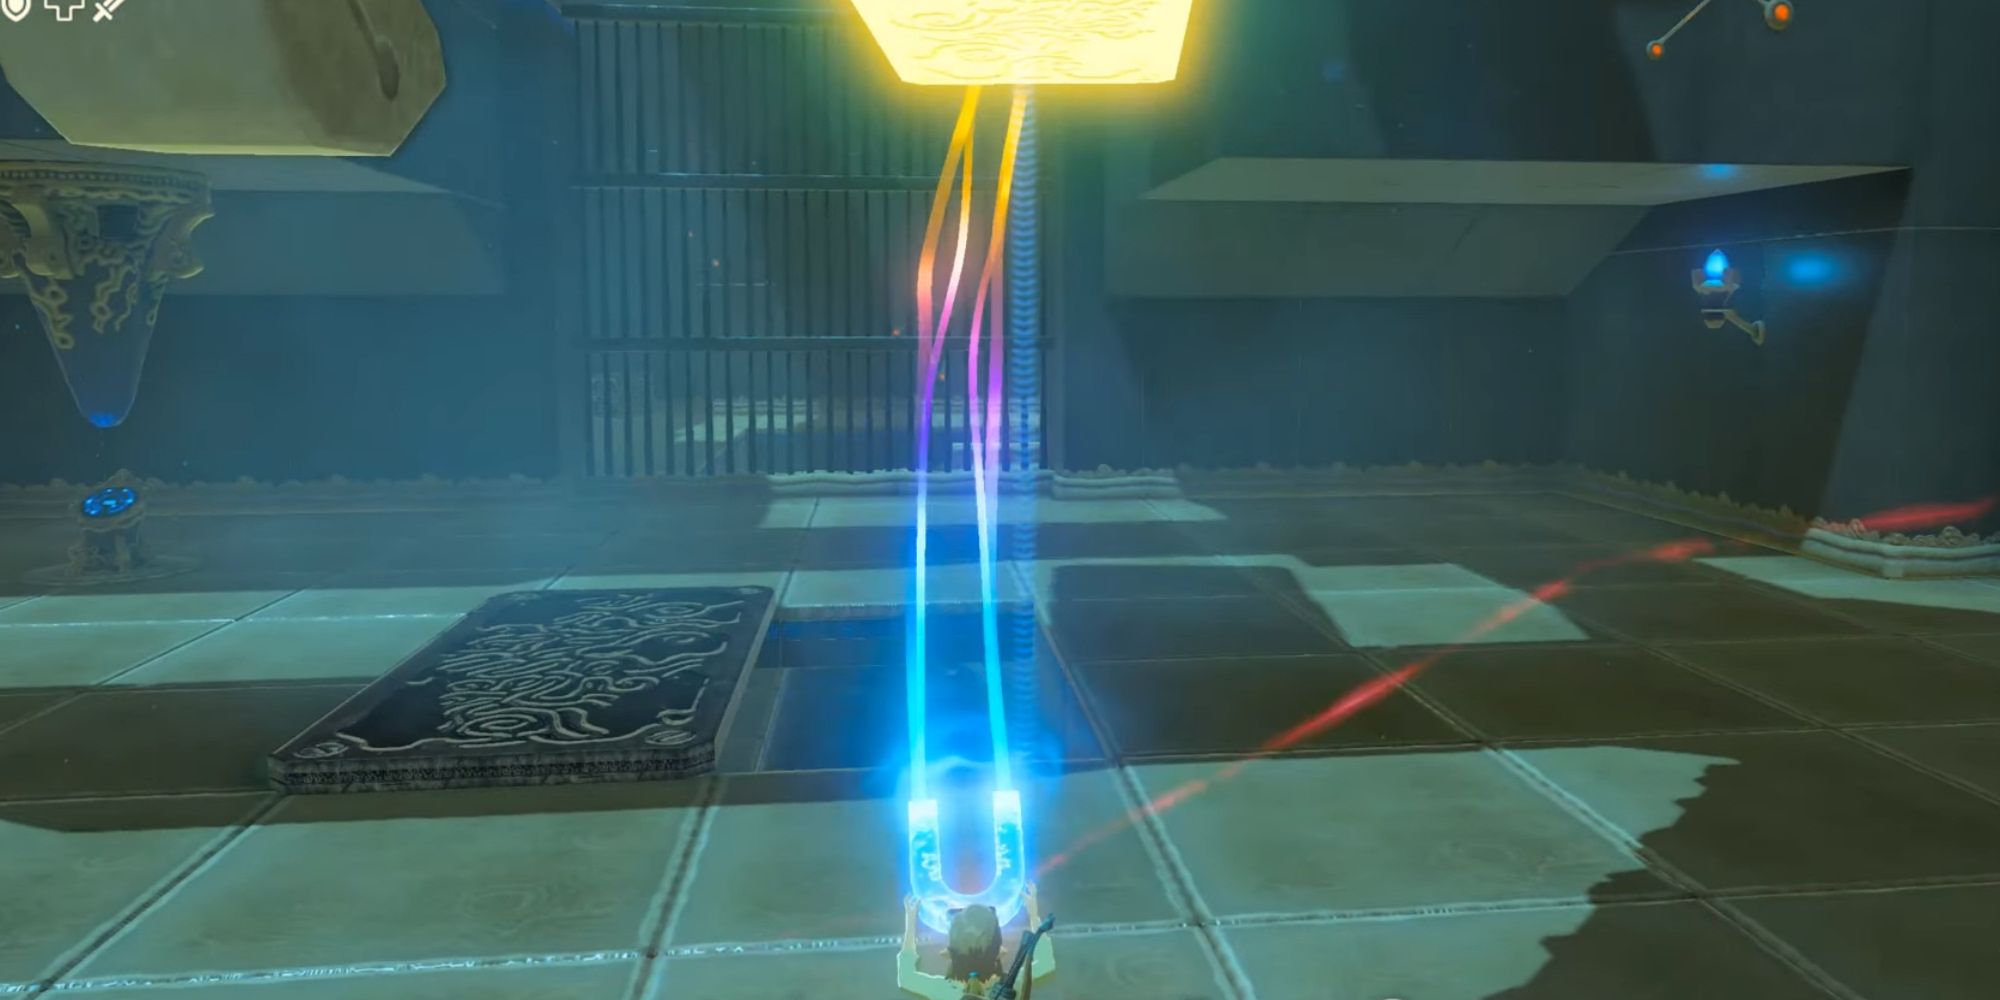
Among the many shrines in BOTW, few can match the sheer frustration posed by the Rohta Chigah Shrine, located on the Great Plateau. Available exclusively through the Champion’s Ballad DLC, Rohta Chigah tasks you with utilizing Link’s Runes to navigate a series of treacherous obstacles. The first challenge consists of navigating a series of spiked platforms that intermittently rise from the ground, which you will need to construct a path over.
The major challenge here is that the metal boxes provided for your path are highly unstable, often throwing you off course unexpectedly. After successfully passing through this obstacle, you must quickly navigate a corridor filled with spinning gears, only to face an even more complex puzzle that requires using Stasis once to traverse through a room filled with descending spiked balls.
7
“Korok Trials” Challenge Your Resourcefulness and Patience
Unlock Two Shrines, or Face Frustration
In contrast to most shrine quests in BOTW, which typically revolve around unlocking a single shrine through various puzzles, the Korok Trials bundle together three distinct shrine quests into one, each presenting unique yet equally vexing challenges. The first trial requires you to navigate through a fog-laden forest, where you must place various items into barely visible trees. The next challenge involves stealthily following the Korok Oaki through the forest without being detected, a task made more difficult by his erratic movement pattern.
Finally, you will find yourself crossing a swamp teeming with electrified monsters, all intent on stunning you and sabotaging your traversal efforts. Throughout this arduous quest, you will unlock two separate Blessing shrines—at least that part is relatively straightforward.
6
“Shrouded Shrine” Offers Unique Yet Repetitive Challenges
Ketoh Wawai Shrine
While I appreciate the innovative approach that BOTW takes in crafting distinct shrine quests, some of these challenges are notably more enjoyable than others. At the lower end of this spectrum is the “Shrouded Shrine,” located in Thyplo Ruins. This quest requires you to traverse a completely dark area, navigating by the light of your torch and a limited number of bird statues with directional beaks that guide your path.
In this particular quest, your survival hinges on the light provided by your torch. If your torch extinguishes or you neglect to light one of the braziers along the way, you will be plunged into darkness, likely leading to disorientation and confusion. Ultimately, you will face a Hinox in the dark before gaining access to the Ketoh Wawai Shrine, making this challenge particularly daunting.
5
Takama Shiri Shrine Puzzles Offer Electrifying Challenges
Dual Purpose
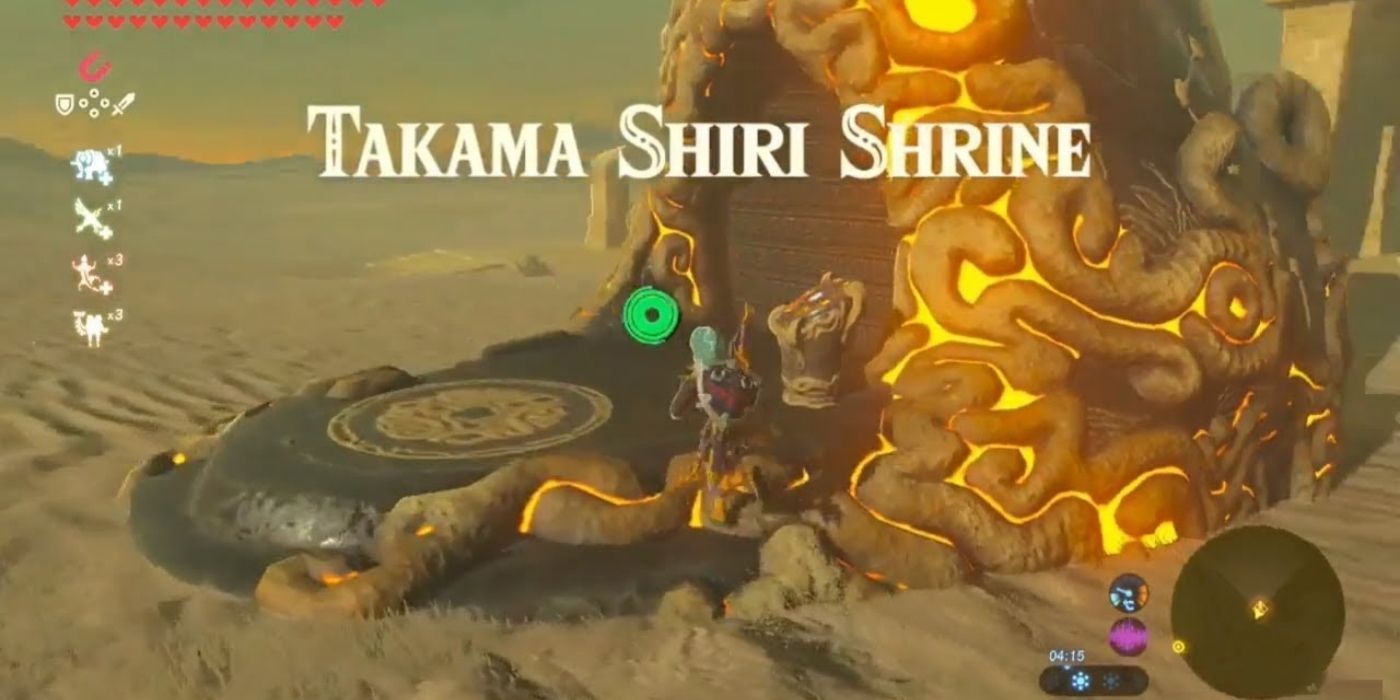
Electricity serves as a compelling mechanic within the physics sandbox of BOTW, yet it can also be quite frustrating to contend with. This is especially true at the Takama Shiri Shrine, located deep within the Gerudo Desert—reaching it requires the use of a Sand Seal. Inside the shrine, you will face a series of puzzles centered on electricity: initially, you must maneuver metal blocks to avoid drawing in a current, thereby creating a safe path forward.

Related
Almost A Decade After BOTW, I’m Just Now Realizing Which Mechanic Killed Link The Most
There is one feature in The Legend of Zelda: Breath of the Wild that is surprisingly deadly for Link even when compared to the rest of the game.
This shrine presents a complex puzzle: you must continuously manipulate a challenging configuration of blocks, some of which are climbable and others that are not, to reach various objectives. The ever-present risk of electric shocks throughout the shrine can make the Takama Shiri Shrine particularly frustrating and potentially deadly.
4
Tho Kayu Shrine Is an Epic Boss Battle
Tho Kayu’s Blessing
Typically, Blessing shrines in BOTW are not regarded as particularly challenging; however, there is one notable exception. To access the Tho Kayu Shrine, located in the heart of the Gerudo Desert, you must first defeat a Molduga, one of the game’s most formidable optional bosses. Overcoming a Molduga requires sharp situational awareness, precise aim with bombs, and a considerable amount of bravery.
To successfully defeat this giant sand creature, you must take cover on solid ground, throw bombs at it when it surfaces to stun it, then rush in for a quick attack before retreating to safety. Once you finally enter the shrine, you’ll be rewarded with a Golden Bow and the altar—making the otherwise simple shrine feel like a consolation prize for the arduous battle outside.
3
Shora Hah Shrine Requires Lighting the Flame to Progress
Blue Flame Challenge
Puzzle-solving involving torch-lighting in Zelda games can often be a frustrating experience. The challenge in BOTW where you must light all the torches in the village is already notorious (it seems to rain just when you’re halfway through), but the Shora Hah Shrine might take the cake for being even more exasperating. In this shrine, your primary objective is to ignite a series of torches to unlock new pathways and ultimately complete the shrine. However, you can only use a special blue flame, which rules out the use of fire arrows.
As you progress, you will encounter numerous obstacles designed specifically to extinguish your flame. Rolling boulders, slamming spikes, and swarms of enemies will obstruct your path, leading to the frustrating scenario where your torch is extinguished, compelling you to backtrack and relight it repeatedly.
2
Eventide Island Represents the Longest Shrine Quest
Korgu Chideh Shrine
For those who wish Breath of the Wild leaned more towards survival gameplay, the shrine quest titled “Stranded on Eventide” is a perfect fit. This quest kicks off the moment you set foot on Eventide Island, where you are stripped of every weapon, armor piece, and item you’ve painstakingly gathered throughout your journey. Your sole objective is to survive using only the items you can scavenge along the way.
Related
Zelda: BOTW’s Most Convenient Feature Is Way Crueler Than You’d Think
One fundamental feature of The Legend of Zelda: Breath of the Wild actually has an incredibly cruel side when considering the game’s story.
I must admit that while Eventide Island’s quest is a fascinating example of how BOTW pushes its sandbox mechanics to the extreme, it is also incredibly challenging. Stripped of your powerful weapons and left with only the most inadequate gear, you’ll face a variety of enemies, from standard Moblins to a menacing Hinox. This quest serves as a true test of your survival skills and can be both demanding and enjoyable.
1
Keo Ruug Shrine Is the Most Confusing and Difficult Challenge
Fateful Stars Challenge
When it comes to identifying the hardest shrine in BOTW, the Keo Ruug Shrine undoubtedly takes the top spot. The concept seems straightforward: your task involves counting the number of constellations on each wall and utilizing those numbers to position a series of balls in the corresponding numbered spaces on the ground. However, the major hurdle lies in the lack of clear instructions. Players are left to navigate this shrine largely on their own, leading to confusion regarding whether they should be counting constellations or stars, where to begin counting from, and which constellation corresponds to each row.
Throughout my gameplay experience in BOTW, this shrine stands out as the only one I ultimately gave up on after 20 minutes of confusion; I later returned with a walkthrough to finally succeed. To this day, I have yet to solve it independently, reinforcing my belief that it is the most challenging shrine in The Legend of Zelda: Breath of the Wild.

The Legend of Zelda: Breath of the Wild
![]()
5/10
- Released
-
March 3, 2017
- ESRB
-
E for Everyone: Fantasy Violence, Use of Alcohol, Mild Suggestive Themes
- Developer(s)
-
Nintendo EPD
- Publisher(s)
-
Nintendo
- Engine
-
Havok
- Cross-Platform Play
-
no
- Cross Save
-
no


